Wireguard 实践
一、安装
Ubuntu
⚠️ 注意 :
WireGuard 对 Linux 内核版本有要求,5.4 以上内核才将其纳入其中。
如果内核低于该版本(典型如:RHEL 和 CentOS),就需要比较复杂的涉及内核编译的过程,请自行登录 官网 查找详细信息。
1
| $ sudo apt install wireguard
|
安装完成后系统中会存在以下东西:
- 两个 cli 命令:
wg 和 wg-quick; - 两个 systemd 文件:
wg-quick@.service 和 wg-quick.target.
可以在 WireGuard 的 Service 文件中加入如下一行,重新加载配置流量不中断:
ExecReload=/bin/bash -c 'exec /usr/bin/wg syncconf %i <(exec /usr/bin/wg-quick strip %i)'
Windows
下载链接
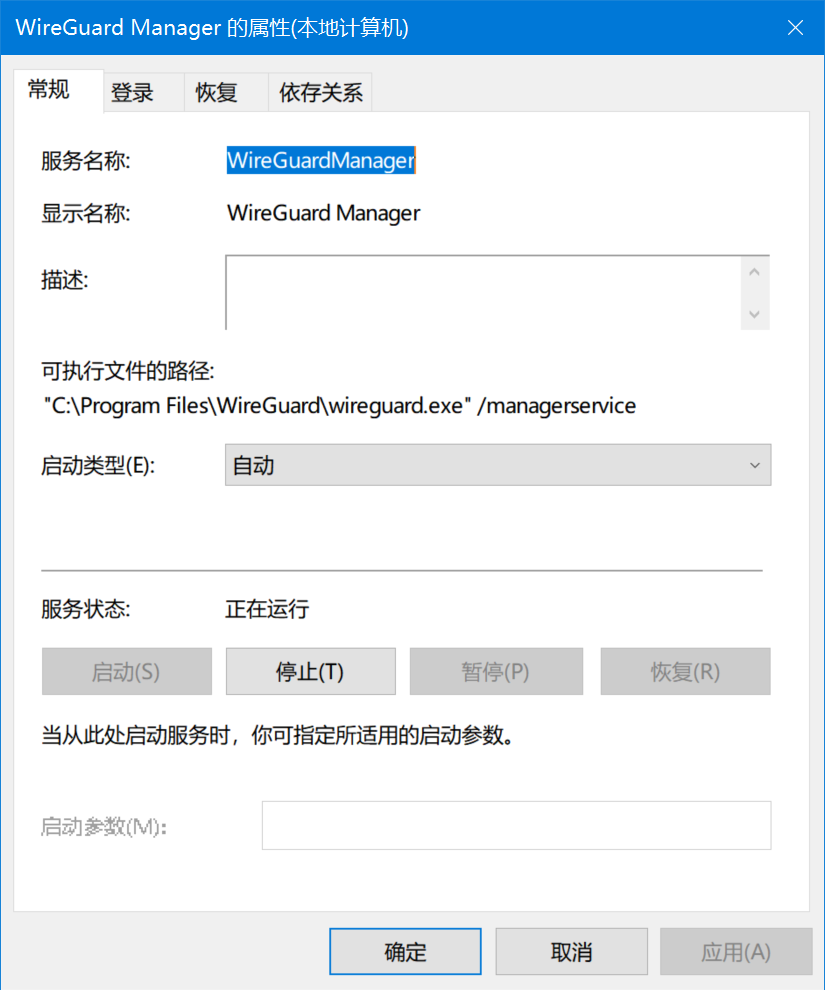
Windows 下载完成后,会存在一个后台服务和一个 GUI 的界面

Android
Google Store 下载链接
二、使用实践
1. Peer to Peer
 1
 2
 3
 4
 5
 6
 7
 8
 9
10
11
12
13
14
15
16
17
18
19
20
21
22
23
24
25
26
27
28
29
30
31
32
33
34
35
36
37
38
39
40
41
42
43
44
45
46
47
48
49
50
51
52
| # 安装 wireguard
apt install wireguard
# 进入文件夹
cd /etc/wireguard
# 修改文件夹权限
umask 077
# 生成服务端公私钥
wg genkey | tee server_privatekey | wg pubkey > server_publickey
# 生成客户端公私钥
wg genkey | tee client_privatekey | wg pubkey > client_publickey
# 生成服务端配置文件
echo "[Interface]
PrivateKey = $(cat server_privatekey) # 填写本机的privatekey 内容
Address = 192.168.199.1/24
PostUp = iptables -A FORWARD -i wg0 -j ACCEPT; iptables -A FORWARD -o $(ip r | grep default | awk '{print $5}') -j ACCEPT; iptables -t nat -A POSTROUTING -o eth0 -j MASQUERADE
PostDown = iptables -D FORWARD -i wg0 -j ACCEPT; iptables -D FORWARD -o $(ip r | grep default | awk '{print $5}') -j ACCEPT; iptables -t nat -D POSTROUTING -o eth0 -j MASQUERADE
ListenPort = 12345 # 注意该端口是UDP端口
DNS = 8.8.8.8
MTU = 1420
[Peer]
PublicKey = $(cat client_publickey) # 填写对端的publickey 内容
AllowedIPs = 192.168.199.2/24 " > wg0.conf
# 启动网卡
wg-quick up wg0
# 加入开机自启动
systemctl enable wg-quick@wg0.service
# 生成客户端配置文件
echo "[Interface]
PrivateKey = $(cat client_privatekey) # 填写客户端的privatekey 内容
Address = 192.168.199.2/32
DNS = 8.8.8.8
MTU = 1420
[Peer]
PublicKey = $(cat server_publickey) # 填写对端的publickey 内容
Endpoint = $(ip a | grep $(ip r | grep default | awk '{print $5}') | grep inet | awk '{print $2}' | cut -d'/' -f 1):12345 # 对端地址
AllowedIPs = 192.168.199.1/24
PersistentKeepalive = 25 " > client.conf
# 为了方便使用,可以生成二维码
apt install qrencode
qrencode -t ansiutf8 < client.conf
# 客户端导入配置即可连接到服务端
|
2. Peer to LAN
1
2
3
4
5
| # LAN 中的机器
# 开启 ip 报文转发
echo "net.ipv4.ip_forward = 1" >> /etc/sysctl.conf
echo "net.ipv4.conf.all.proxy_arp = 1" >> /etc/sysctl.conf
sysctl -p /etc/sysctl.conf
|
 1
 2
 3
 4
 5
 6
 7
 8
 9
10
11
12
13
14
| # 拥有公网 IP 的机器
# 配置
[Interface]
Address = 172.30.66.1/32
ListenPort = 12345
PrivateKey = GFw4BUsqlZFxBDdbGy64gATQtC6VfeCc820XRZpfLWs=
PostUp = iptables -t nat -A POSTROUTING -o %i -j MASQUERADE
PostDown = iptables -t nat -D POSTROUTING -o %i -j MASQUERADE
[Peer]
PublicKey = l6ZuOCtYWCvW4o2o1QIZ1W4kGGCErVt3ERdzyxwJ9h8=
AllowedIPs = 172.30.66.12/32,10.113.0.0/16, 10.20.0.0/16, 10.50.0.0/16, 192.168.80.0/24, 192.168.3.0/24, 192.168.8.0/24, 192.168.10.0/24, 192.168.12.0/24, 192.168.24.0/24, 192.168.25.0/24, 192.168.26.0/24, 192.168.27.0/24, 192.168.30.0/24, 192.168.32.0/24
PersistentKeepalive = 5
|
3. LAN to LAN
与 “Peer to LAN” 类似,双端都开放网段,即可打通两个 LAN.